Tissue Box
tile 2
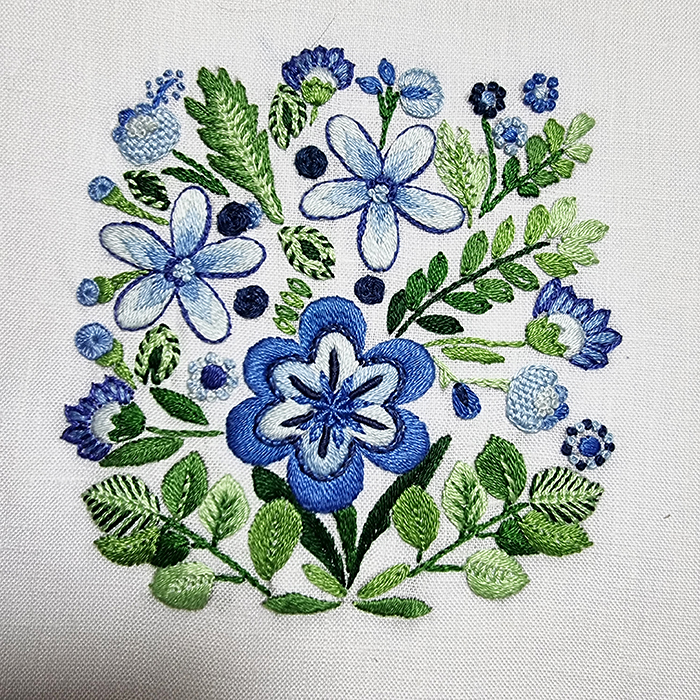
Following on from the floral tissue box started last week, today I’d like to invite you to discover the second tile, again inspired by the magnificent Mexican tiles found in artisan markets. These little paintings, with their geometric or vegetal designs, often in bright palettes, inspired me to play with shapes and color harmonies.
For this project, I’ve embroidered four different designs in four distinct colors, so that you can create your own handkerchief box, the one that suits you. It’s up to you to play with the patterns and colors to make a unique object that will bring a personal and cheerful touch to your home.
From a technical point of view, I decided to use a wide variety of stitches, some classic, some more unexpected, to enrich this project with little surprises. Each motif is an opportunity to explore different textures and be surprised by the effects of embroidery.
You will find the file containing the design and the pattern numbering HERE
Below you’ll find all the explanations and photos you need to complete this project easily.
The colors
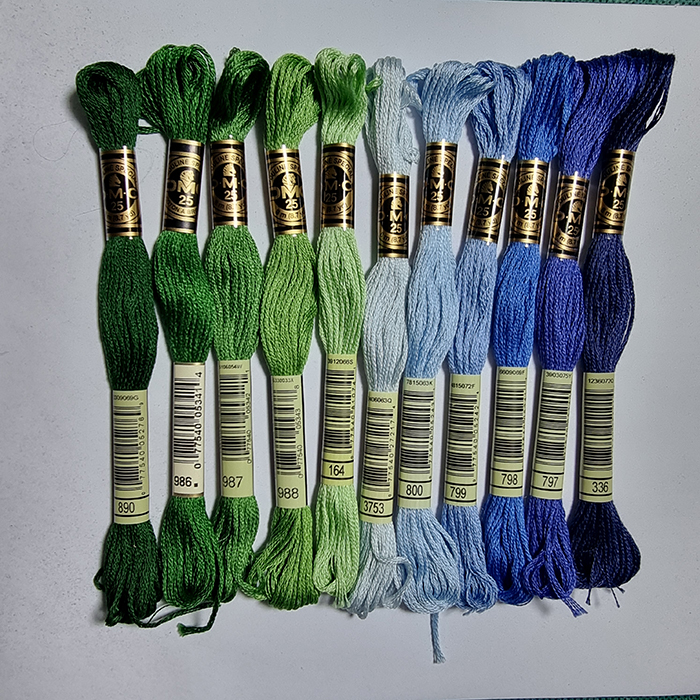
The shades of green chosen to embroider the foliage are…
DMC 890, 986, 987, 988 and 164.
The shades of blue chosen for the flowers on this first face are…
DMC 3753, 800, 799, 798, 797 and 336.
Explanations of the designs
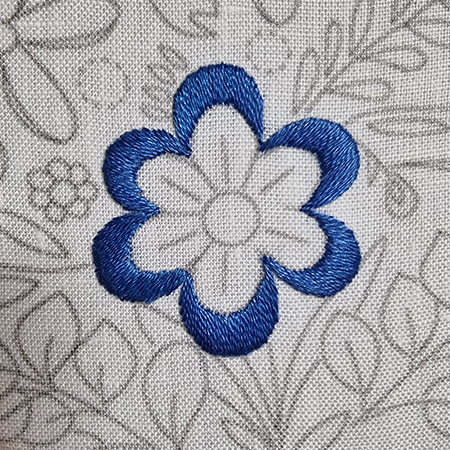
Flower n°1
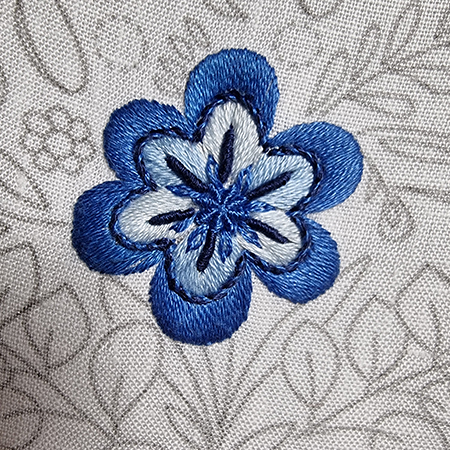
Finish by embroidering a ribbed spider web with 2 threads in the heart of the flower. Add 2-thread lazy daisy stitches in the extension of the spider’s branches and embroider 2-thread bullion stitches on the petal veins.
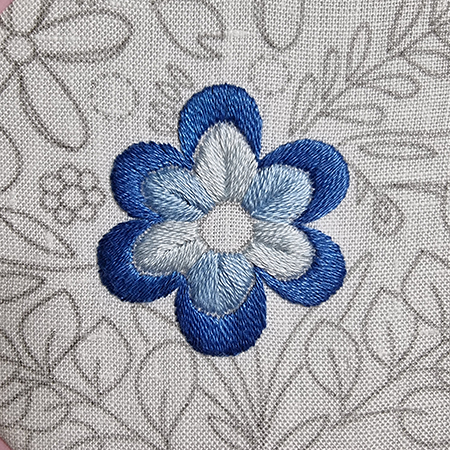
Flowers n°2
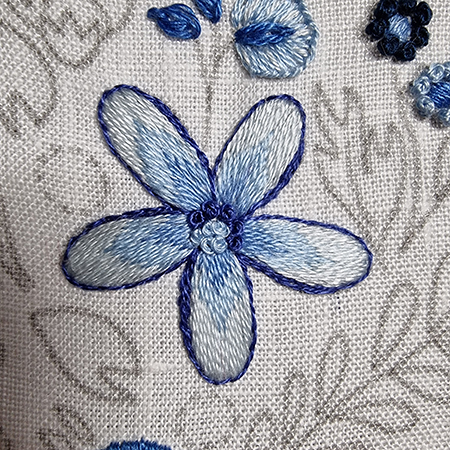
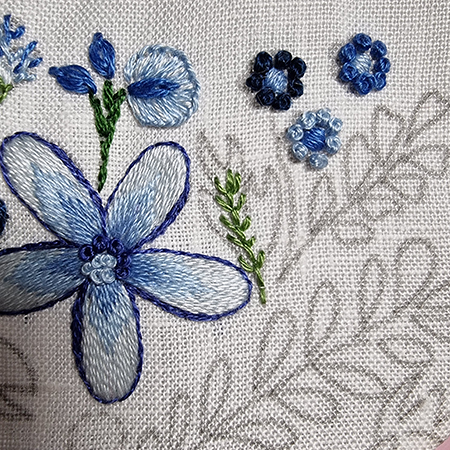
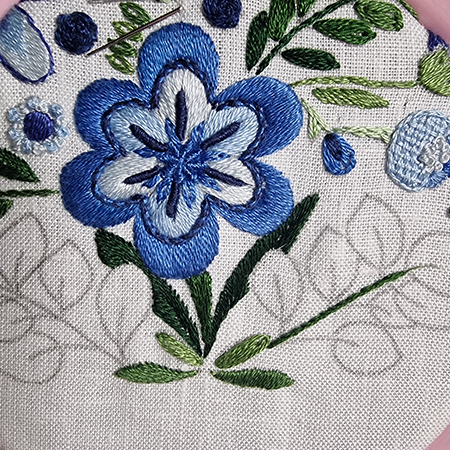
Embroider the petals with long and short stitch 1 thread. I used a gradient of 3 colors, from lightest to darkest.
Embroider the outline of the petals in split backstitch with one thread, doubling (or even tripling) the line on one side of each petal to give it relief. Embroider the heart of the flower in French knots with 2 threads and 2 turns.
Part A
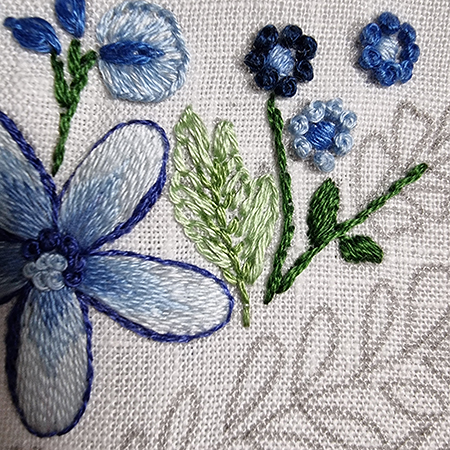
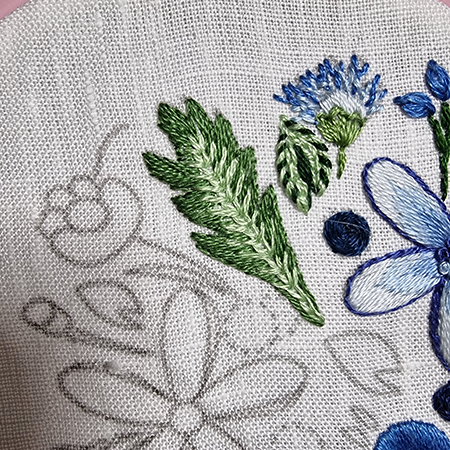
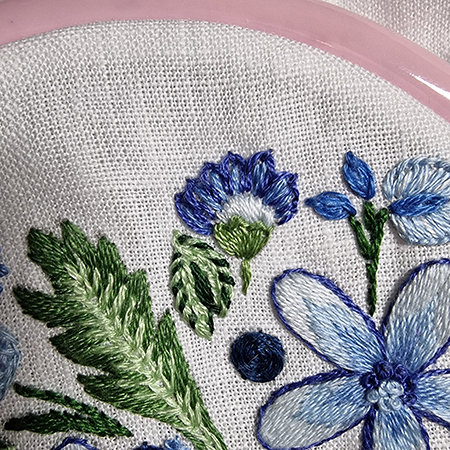
The small flower at the top left is embroidered using blanket stitch and lazy daisy stitch, the stem using stem stitch, all with 2 threads. The small flowers on the right are made using satin stitch with 1 thread and French knot stitch with 2 threads and 2 wraps. Start embroidering the large leaf by placing a fly stitch with 2 threads on the central vein.
Part B
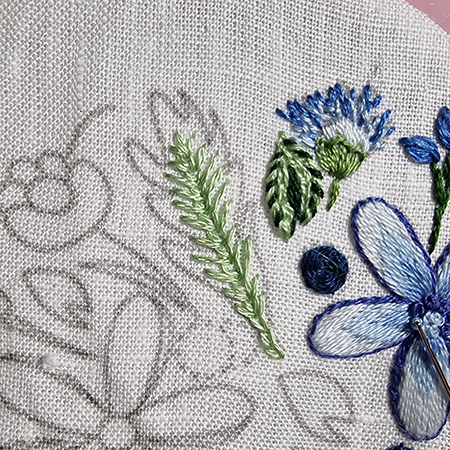
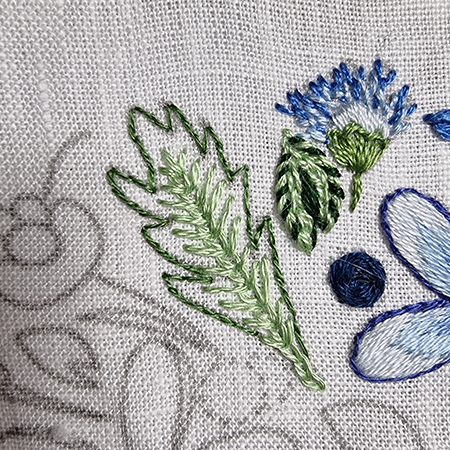
First, ignore the flower at the top right. I undid it and embroidered it differently later! Start making the large leaf with a wheatear stitch using 2 threads placed on the central vein. The dot shown in this photo is embroidered using a simple spider web stitch with 2 threads. The remaining small leaf will be explained in another photo.
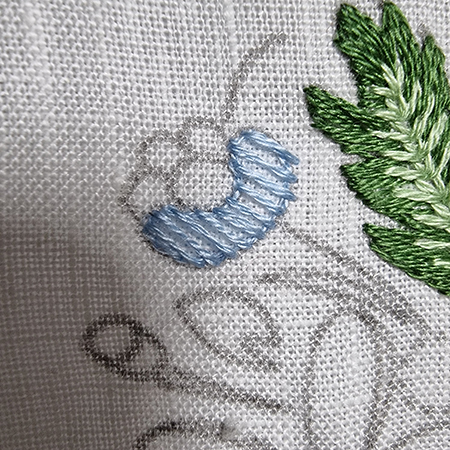
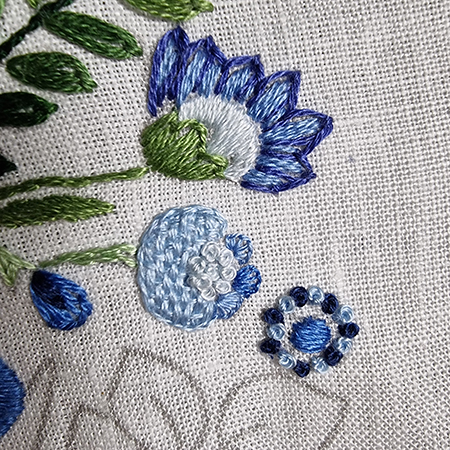
The lower part of this flower is made using the weaving stitch with 2 threads. Start by placing the warp threads.
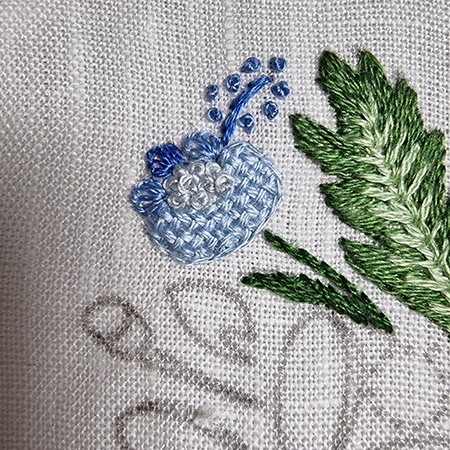
The weave is made with 2 threads up and down, alternating on each row. The heart of the flower is embroidered in 2-thread 2-wrap French knot. Embroider the 3 small petals at the top of the flower in blanket stitch with one thread. The small branch that completes the motif is embroidered in stem stitch and with French knot.
Part C and D
To make the little oval leaves scattered throughout the embroidery, I used 2 rows of chain stitches and overlocked the outer one. I then filled the empty space in the center of the leaf with straight stitches. The whole motif is made with 2 threads. The 2 small flowers to the left of the embroidery are worked in round blanket stitch and stitch, all with one thread.
Part E
The center of this flower is embroidered with a satin stitch using 1 thread, the petals are embroidered with a lazy daisy stitch and finished with a straight stitch in a different color in the center, and the calyx is embroidered with a blanket stitch, all using 2 threads. I used a 2-thread stem stitch for the stem and a 1-thread fishbone stitch for the leaves.
Leaves n°3
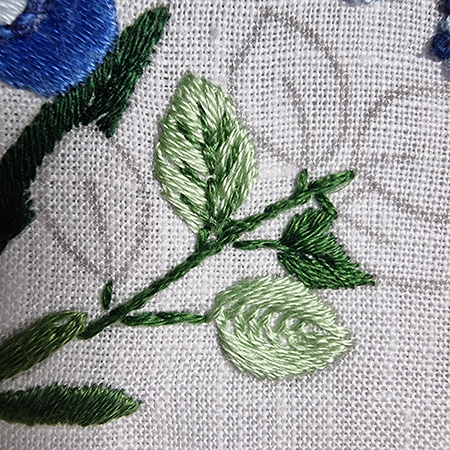
To embroider these leaves, I used satin stitch and fishbone stitch with 1 thread, as well as double lazy daisy stitch with 2 threads.
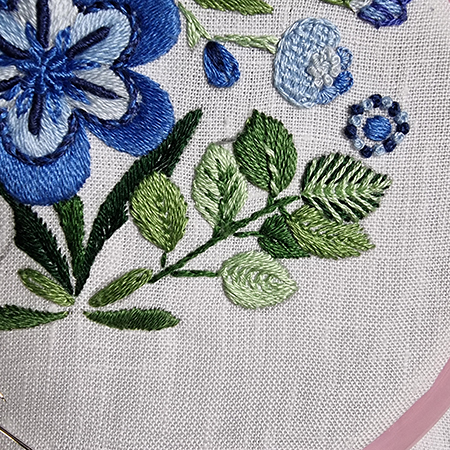
The side stems are embroidered using the stem stitch with two threads. The recessed leaf is made using the fishbone stitch with one thread. The top leaf is worked using the fishbone stitch with a fly stitch for the vein, and the bottom leaf is worked using the Cretan stitch. I used two threads to embroider these last two.
The leaves at the end of the branch are embroidered, one using the fly stitch and the other using the wheatear stitch with a straight stitch between the branches, all using two threads. The top leaf is made using the fishbone stitch and decorated with a vein using the chain stitch, all with 2 threads. The leaf on the far left is embroidered using the fly stitch with 2 threads. Embroider the left side of the cluster of leaves in mirror image.

