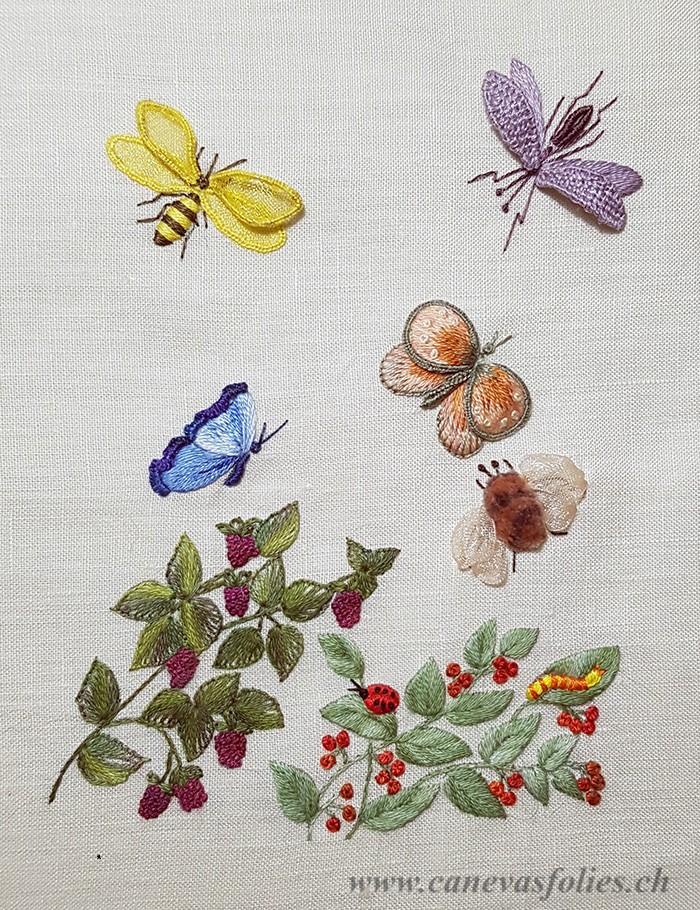
Taking flight – The Mosquito
This project contains stumpwork.
In the 6th and last part of this embroidery, we will realize the mosquito in stumpwork.
We will use the technique of needle lace to make the wings.
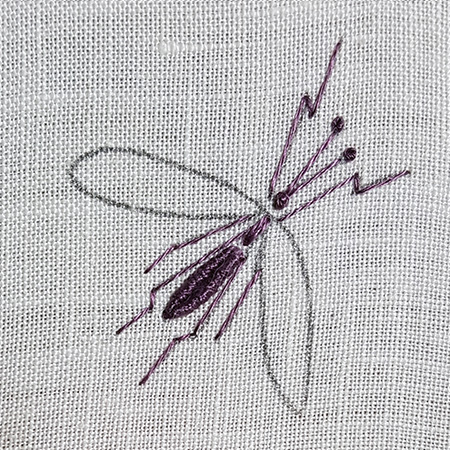
The body of the mosquito is embroidered in the following way
a double bullion stitch 2 threads and a double straight stitch 2 threads for the abdomen.
a French knot 2 threads 2 wraps for the head
straight stitches 1 thread for the legs and the antennas.
French knot 2 threads 1 wrap on top of the antennas.
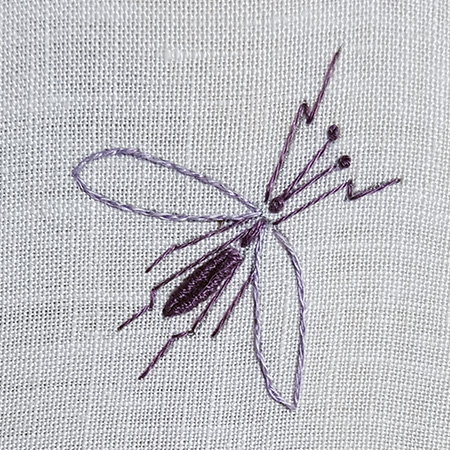
Embroider a split back stitch with 1 thread on the edges of the wings.
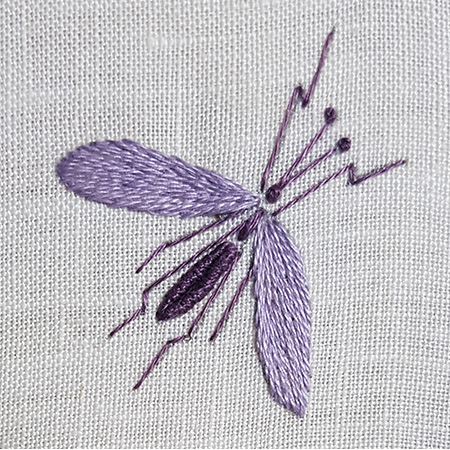
Fill the wings with long and short stitch 1 thread.
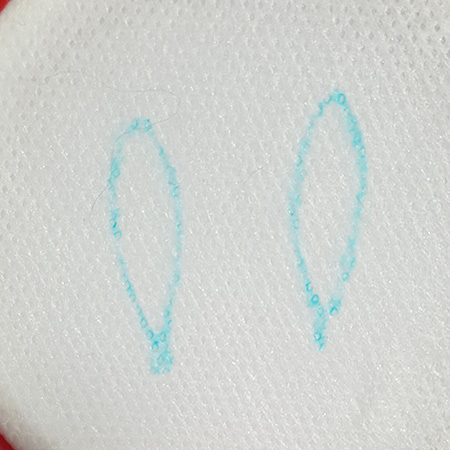
Using the downloaded templates, trace the pattern of the wings on a piece of water-soluble “non-woven” fabric. Personally, I use Soluvlies from the Vlieseline brand.
Tighten this piece of fabric in your hoop.
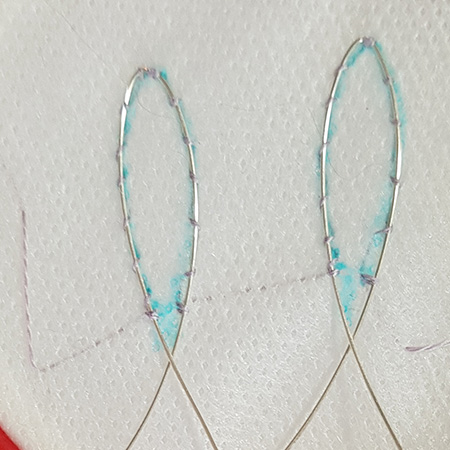
As previously for other insects, sew the wire on the wing contour using small dots with 1 thread.
To give a fluid shape to the wing, proceed slowly and avoid bending the wire. Do not forget to leave 2 floating pieces about 1.5 cm at each end of the shape. They will serve as anchors during final assembly.
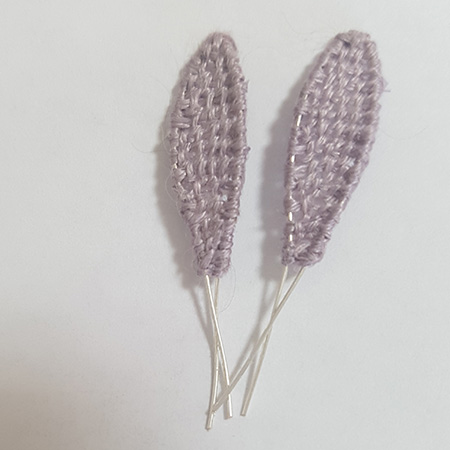
The wings are made with the needle lace technique. You will find explanations for this work HERE.
Once the embroidery is finished, as before for the wasp, cut the wings, gently pass them under warm water and let them dry.
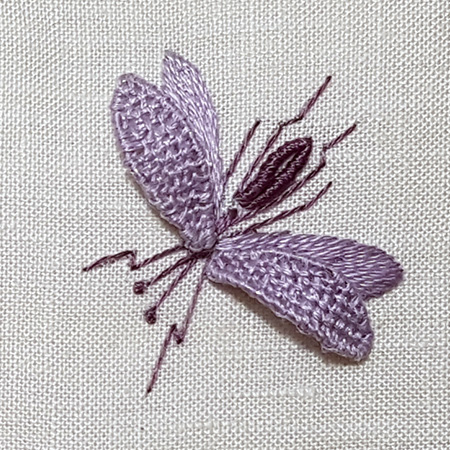
Here is the finished mosquito.
For the needs of the picture, I set the wings without apposing them.
It is necessary to wait until the end of the project to affix definitively the parts of stumpwork at the back of the work.
