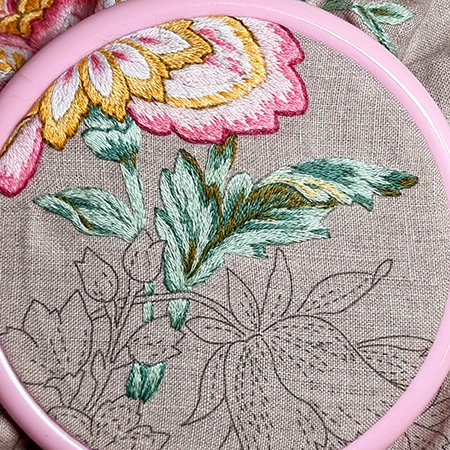
Fantasy flower
Leaves (11)
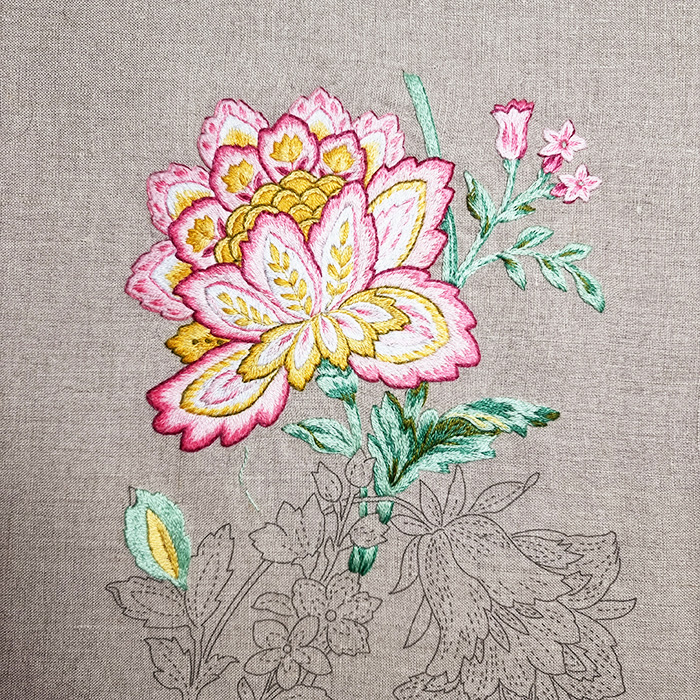
In the article below are the necessary explanations to embroider a whole series of leaves located under the main flower (11).
In this work, the satin stitch and the long and short stitch are always made with 1 thread. The decorative stitches will sometimes be done with 2 threads but this will be indicated in the explanations.
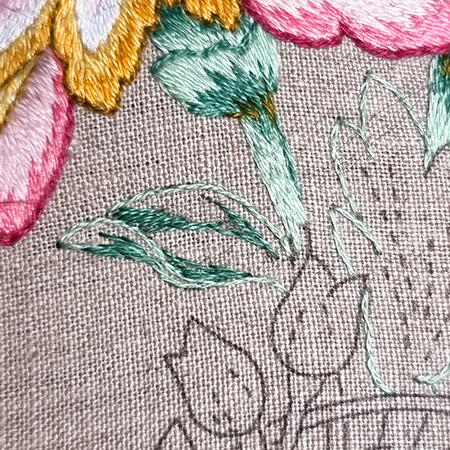
After outlining the edges of the leaf as usual with backstitch and color 966, first, place the darker parts with color 163 using this photo or the downloaded print.
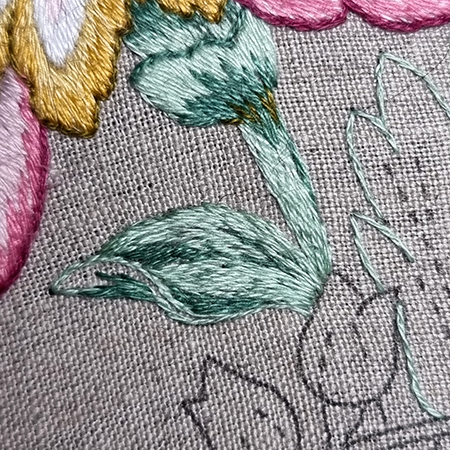
Fill the inner part of the leaf with long and short stitch and the color 966.
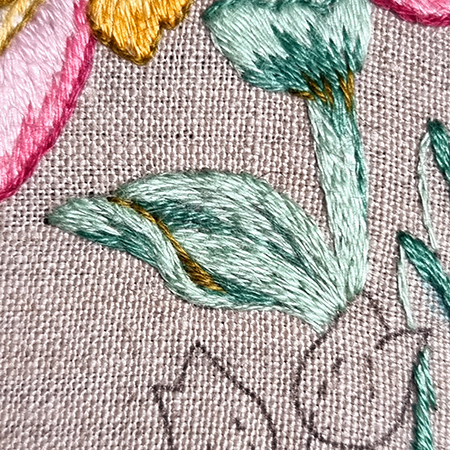
Now embroider the back of the leaf as shown in the photo. Add a few straight stitches with the color 730 to mark the shadow area between the leaf and its reverse.
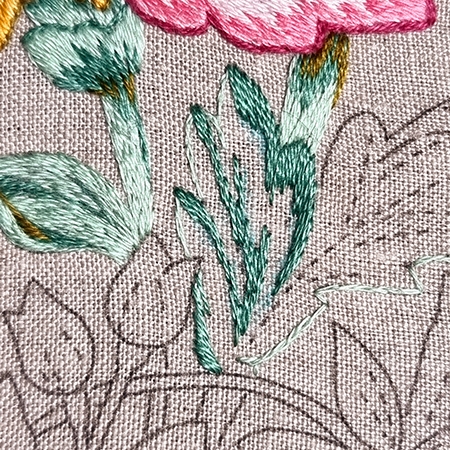
Do the same work as before, first embroidering the dark areas on the left side of the leaf with color 163.
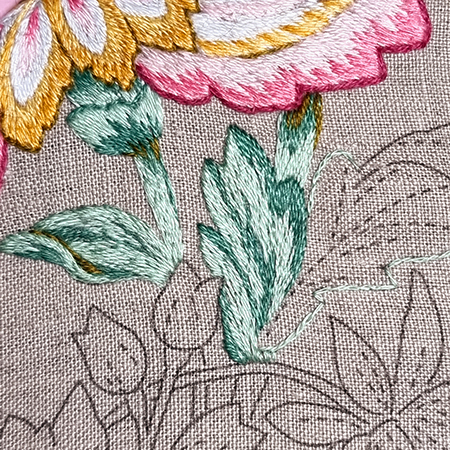
Fill all the remaining empty part of the leaf with long and short stitch and the color 966.
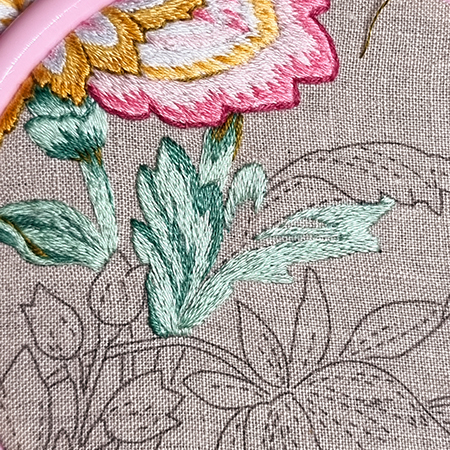
Now work the light area of the lower right part of the leaf with the color 966.
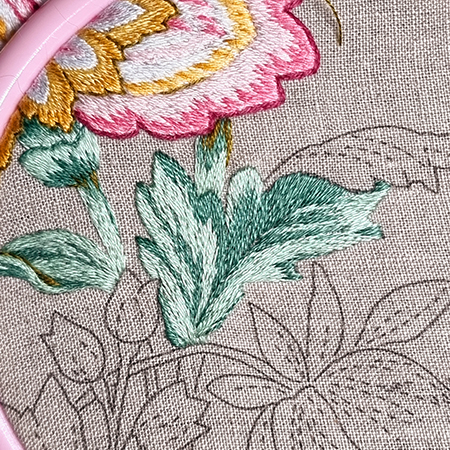
Fill in the empty part with long and short stittch and the color163.
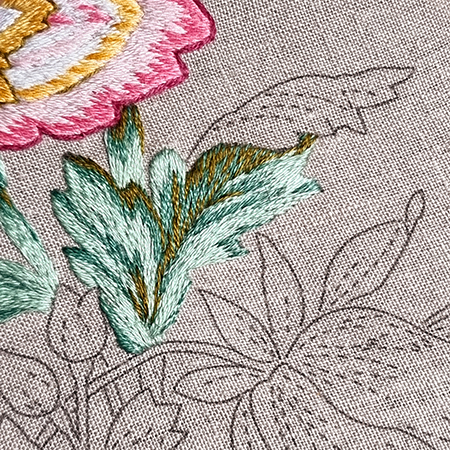
To give depth to this leaf, now embroider the shadows in straight stitch and color 730 following the photo.
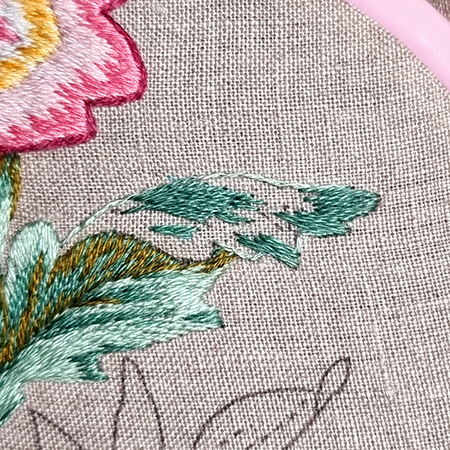
To embroider the turned over part of the leaf, proceed in the same way but this time starting with the darker parts and color 163.
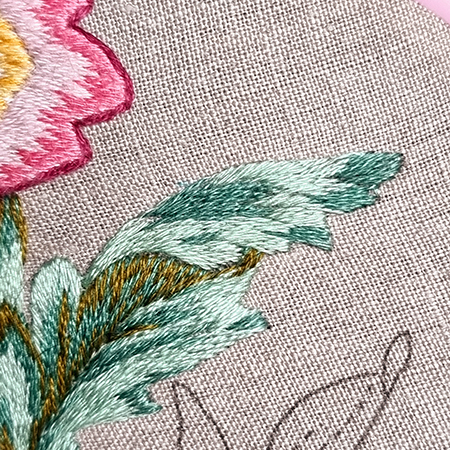
Fill in the light part with long and short stitch and the color 966.
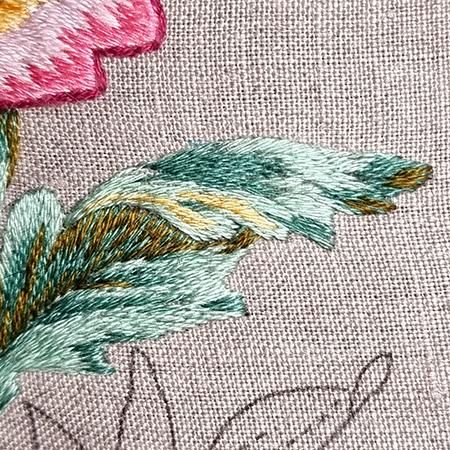
Apply shadows with color 730. Add a few straight stitches with the color 3822 to the front of the reverse side to bring out the necessary light to this part of the leaf.