Christmas bauble
Finishing part 1
This article is dedicated to the assembly of the Christmas bauble.
Today, you’ll find below the explanations and a plan necessary to carry out this work successfully.
All you need is sewing thread in a color to match the fabric you’ve chosen to embroider, a few pins, precision, and a little patience … but nothing too difficult!
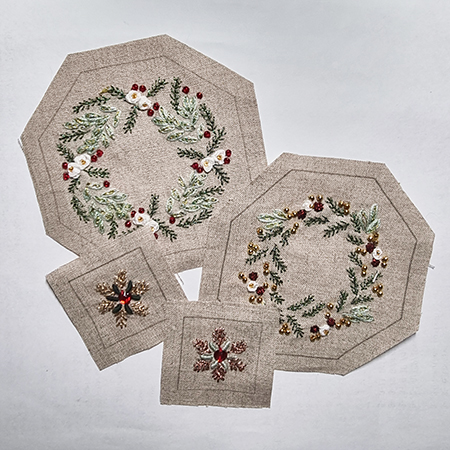
The 26 embroidered motifs are finished and ironed.
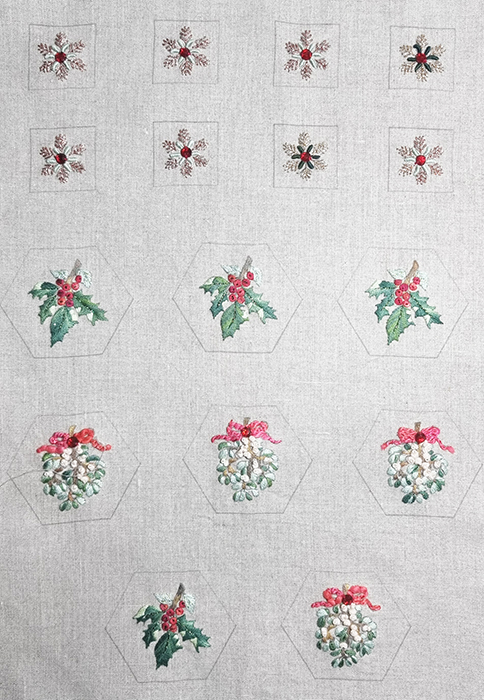
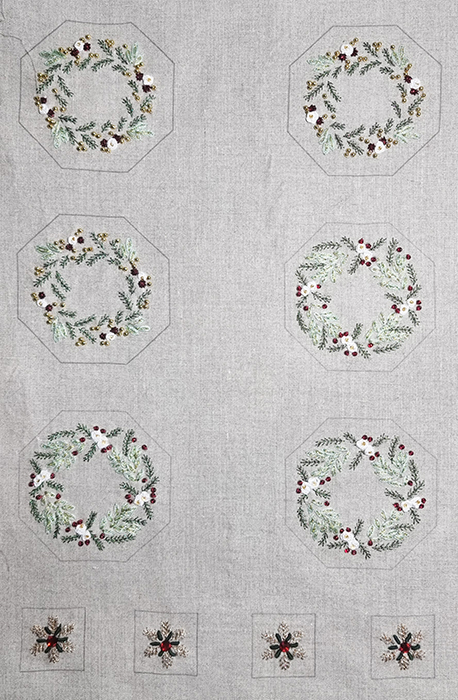
Sewing
Fold the hem inwards towards the pieces to be joined and sew using small hidden stitches. Be sure to work along the lines of the design and join the corners precisely.
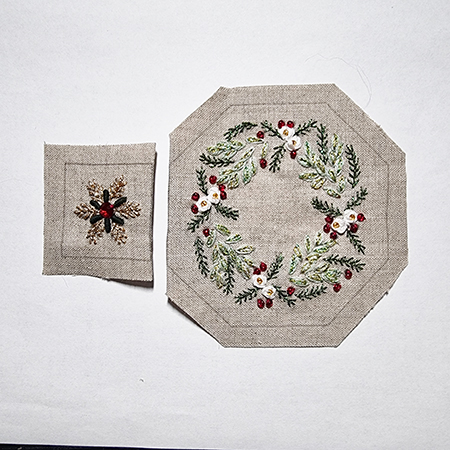
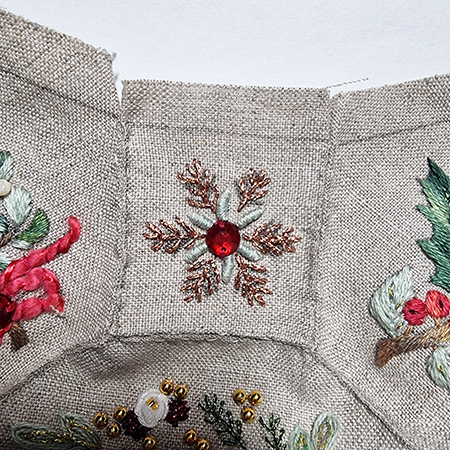
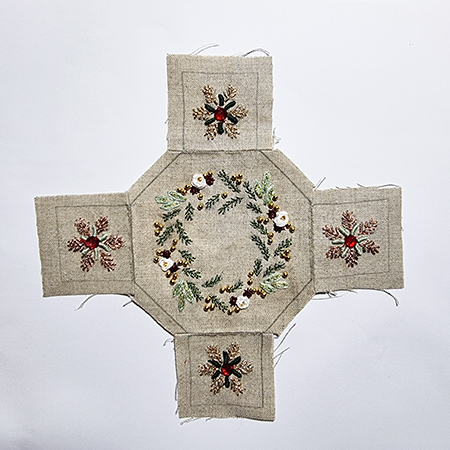
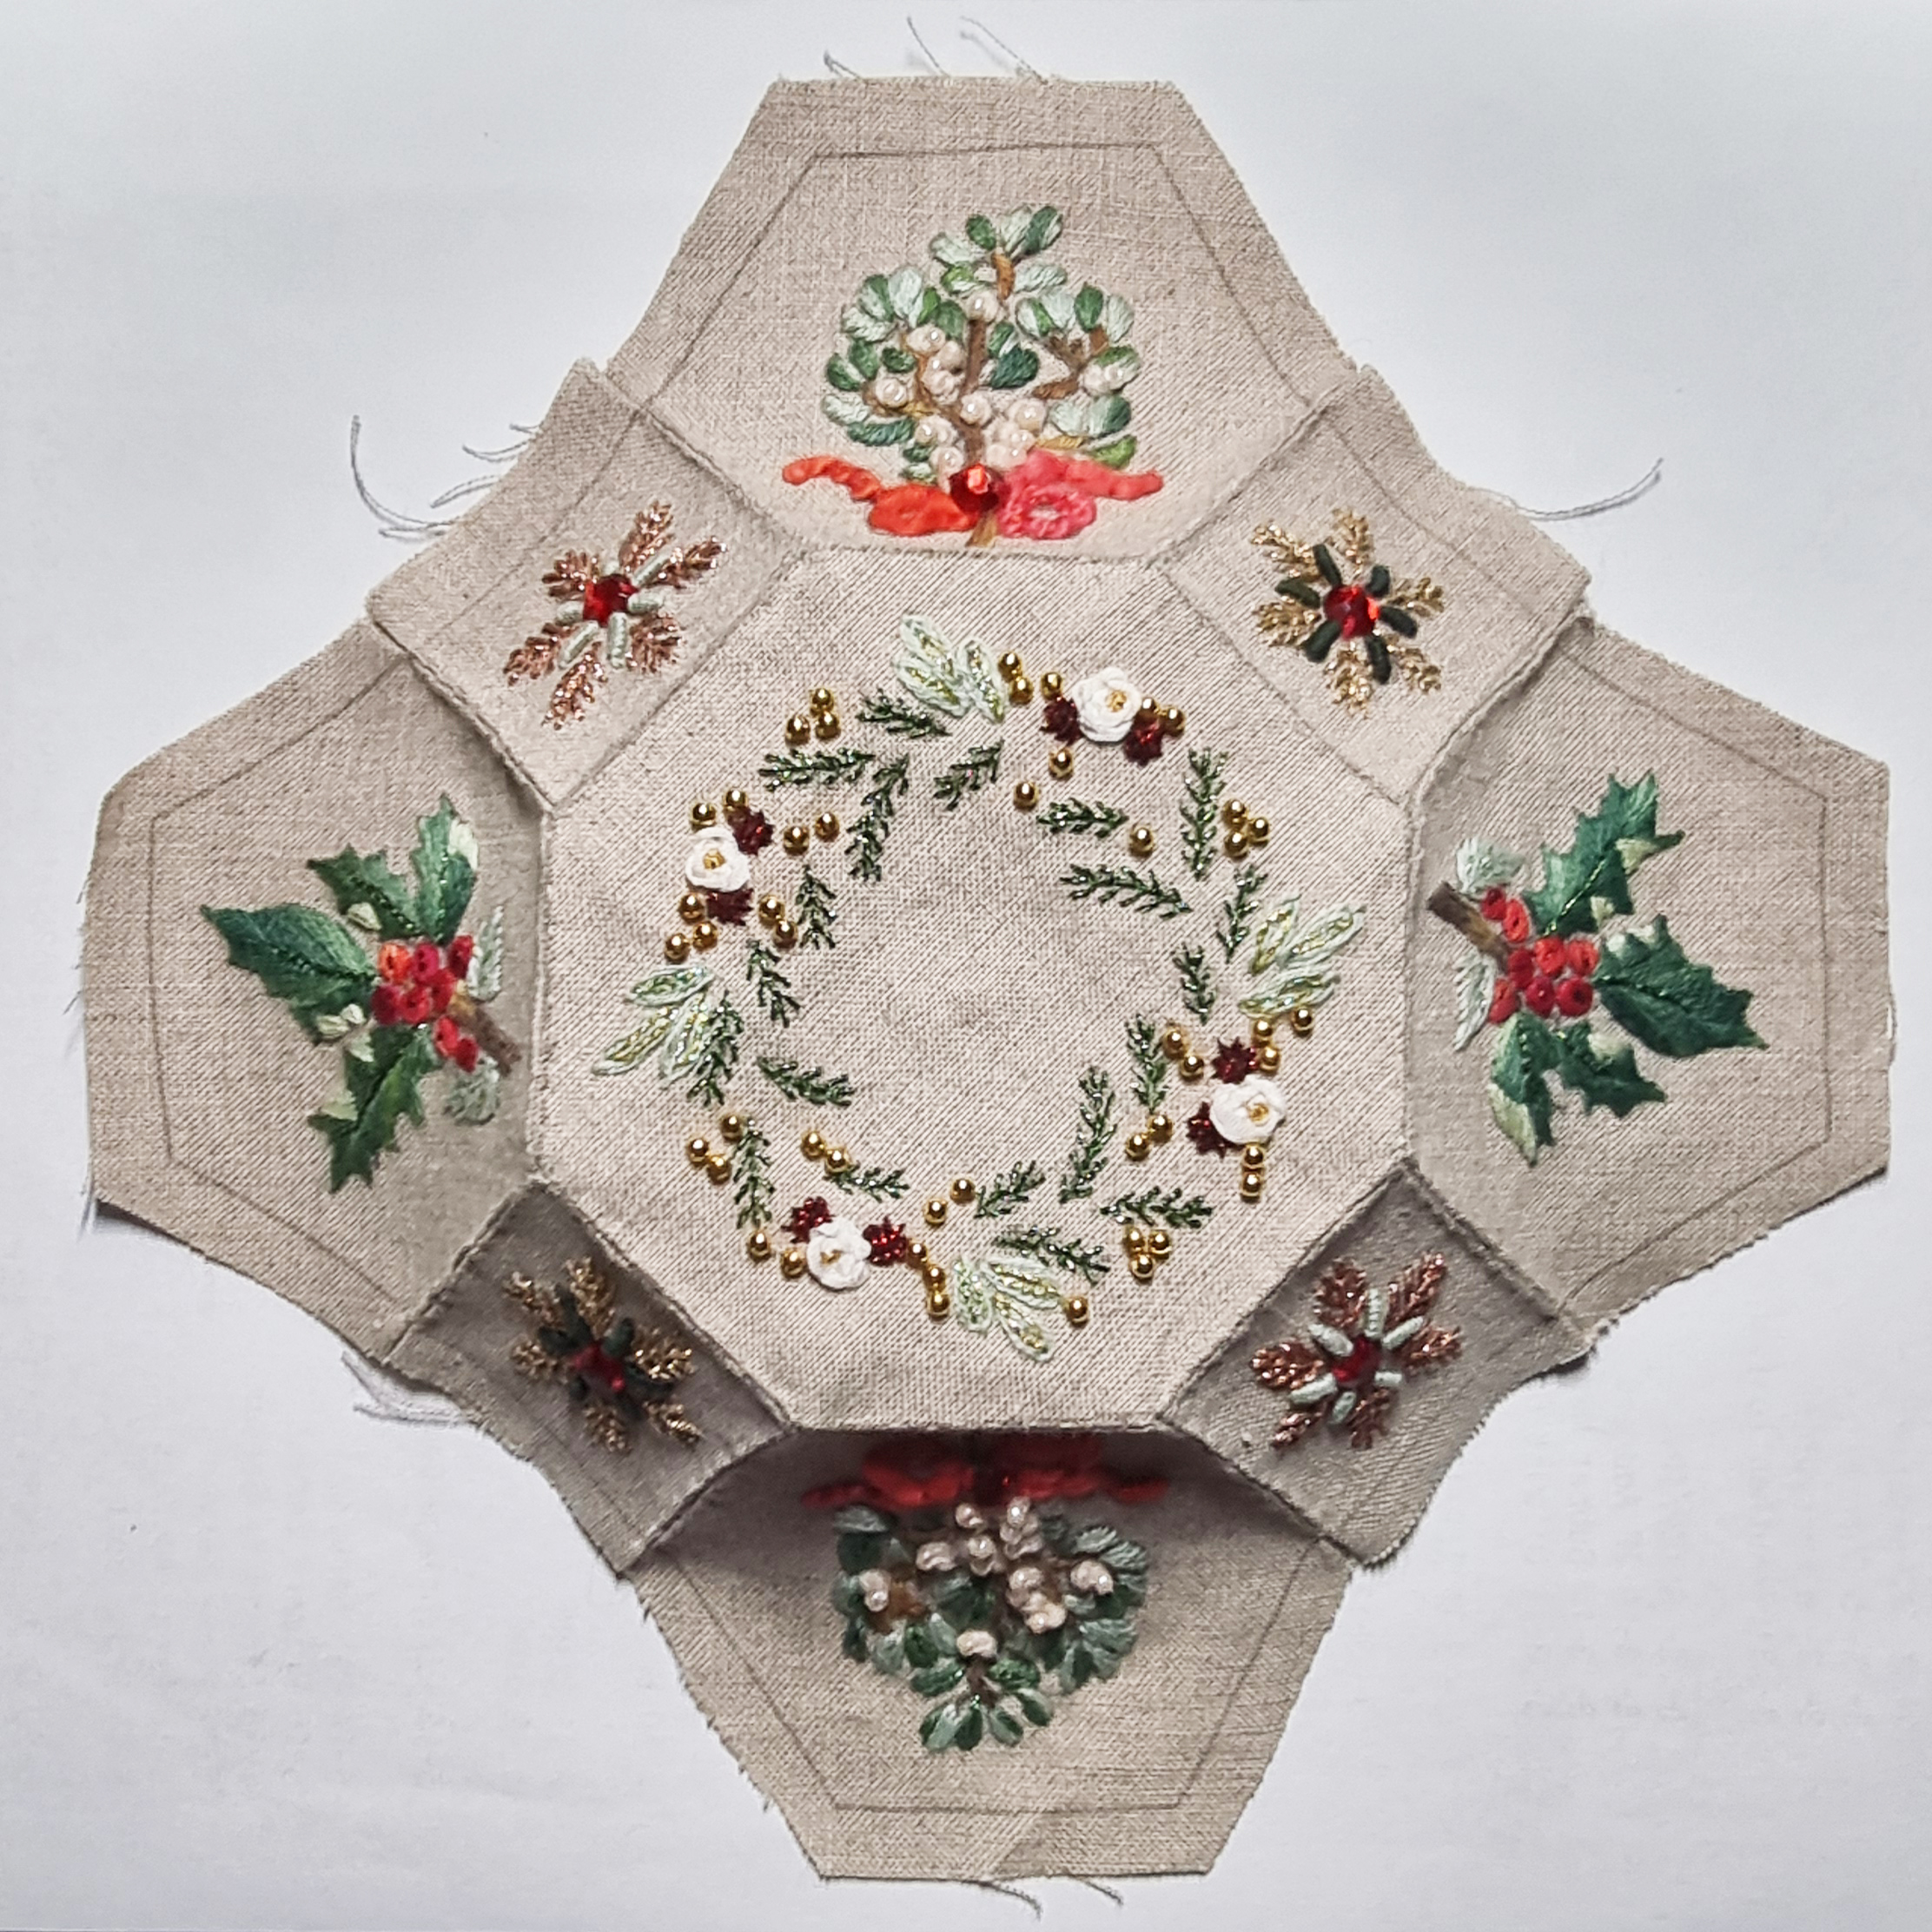
Assembly of the upper part
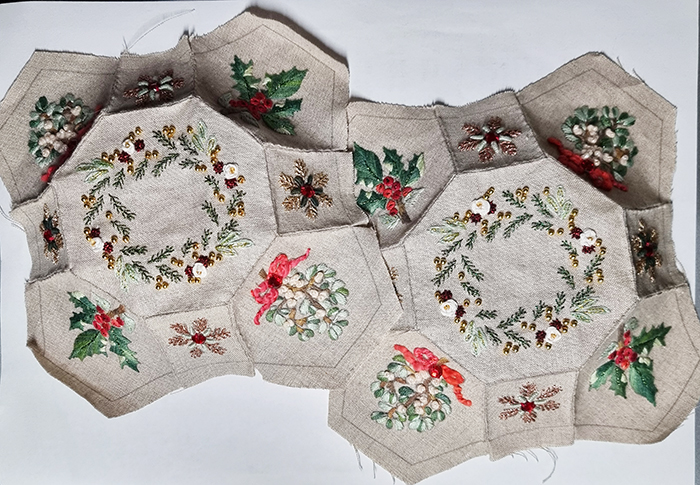
to be carried out a second time for the lower part
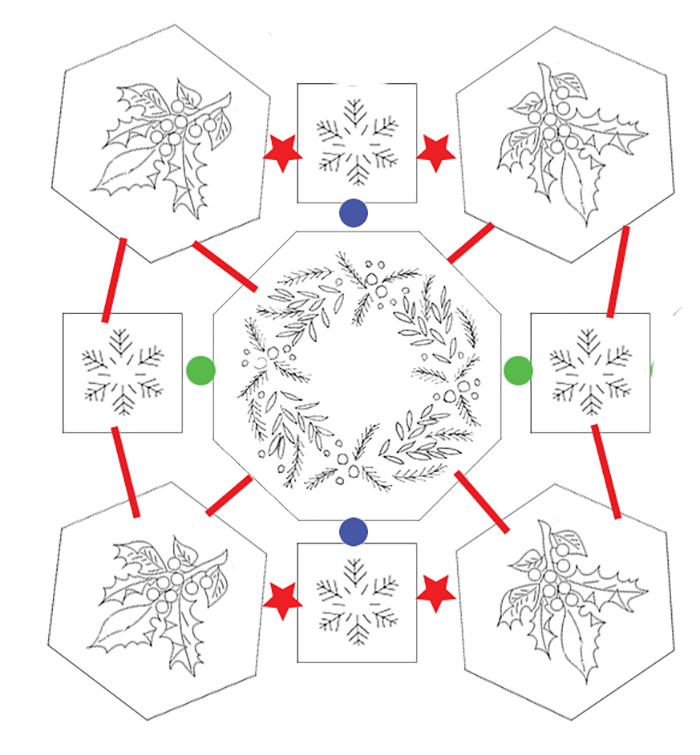
Steps to follow
The pieces are cut to size, leaving about 1 cm for the seams, then joined right sides together by small hidden stitches with sewing thread in a color matching the fabric. When the bauble is finished and filled, we’ll cover the seams with an overlock chain stitch or a Palestrina stitch, I don’t know yet.
For assembly, it’s easiest to sew the pieces in the following order: start with the blue dots, then the green. When the cross pattern is complete, add the hexagons using the stars, and then the red lines.